Embroidery Hoop Printmaking Tutorial
Are you interested in printmaking but not sure where to start? Well, embroidery hoop printmaking isn't the easiest way to start printmaking, but it is super cheap! So how do you start?
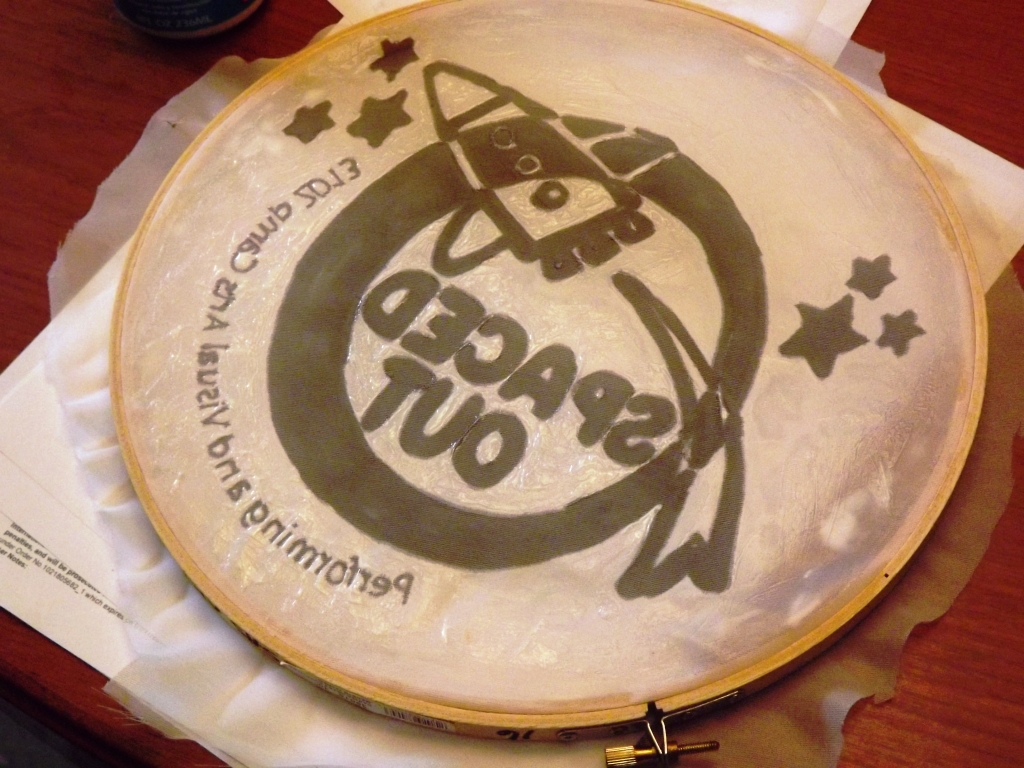
Well, start with a simple image. NOT LIKE MINE! Sorry, you have to make do with my image as this was an actual project.
1. Print your image on copy paper.

2. Get an embroidery hoop and some sheer fabric. I bought a fabric panel at the discount store. Cut your fabric a little larger than your hoop and pull it super tight.
3. Set your hoop with fabric down FLAT on to your design. It is important that you will see the image CORRECTLY with the hoop facing you. (see below).
4. Take your sharpie and draw you image onto the fabric. Yes, the sharpie will bleed, but where you actually draw will be black and the bleed will be gray.

5. Flip over the design and check to see how it looks.


8. For tiny areas, you toothpicks.


11. Try out your frame on a piece of paper or throw away piece of fabric using acrylic paint. I like to pull the image with a credit card. It is important the frame is flat on your fabric and that you pull the print at a 45 degree angle. Only pull across each part of the image ONE time and only from ONE direction!. If it's not a great print, wash your frame out, let it dry and add mod podge to the "bad" spots.
12. And here is what it looks like printed.

Words of caution...
This printmaking process is not for the faint of heart nor is it good for long runs. However, it would be ideal for a classroom project where every student was allowed to create their own prints. I would say that you could probably get about 10 good prints, maybe more, but the screen seems to break down and allow bleedouts quickly. Pulling from different angles makes bleedouts happen faster.
I would suggest that you NOT use words, or if you do, no smaller than the "spaced out" words that I have on my image.
Good luck!
No comments:
Post a Comment