Monday, June 17, 2013

T Shirt Tapestry

Tshirt Tapestries have become great "filler" activities in my classroom. I have tubs of cut up tshirts and precut rectangles of the hook and loop canvas. When students are finished with whatever the current project is and I'm not ready for the group to move to the next project, students have the opportunity to work on a tshirt tapestry.  I call them tapestries because they aren't rugs and they aren't paintings and they aren't sculptures, so tapestry it is!
 
How do you make your own tshirt tapestry?
 
1. start with a lot of tshirts and cut them into strips. I cut the entire shirt  into 1/2 inch wide strips. I don't use the sewn selvages or the collar, but I use the rest of the shirt. I then cut the strip into about 4 or 5 inch long pieces. How long do you cut them? It depends on how shaggy you want your tapestry!
 
2. Decide on if you want to create a pattern or image.  Then get to work!
 
3. Take a strip and gently pull it so that it rolls in on itself a little bit. Then fold in in half, run it under into a square, pull it through the other side and slip it through loop you just made and pull tight. Okay, that makes very little sense.. google latch hook rugs and follow the steps... I don't use a latch hook as I find it a lot more work.
 
4. Beware, this is pretty mindless work, but it is NOT fast!
 
Here is one about finished. It is very shaggy!

I love this one! Too bad the blue section is backwards... And they ran out of red shirts.
 

So close! They just needed a dozen more red strips. Sorry guys!


And don't you love the back of this! The art 1 guys who worked on this created it as they went. I love their problem solving and concept. Yes, the flag is backwards and they ran out of red, but the overall job is really nice. I will be using this in the future as a sample of great technique and good design, but lack of execution in the flipping of the design and running out of supplies.
 

This final tapestry is way, way to shaggy and the canvas showing through tells me that they didn't work consistently on their lines. You can skip a row, as long as you embed the skipped squares between solid rows of tshirt. This one is not consistent.

So, if you are looking to get rid of old tshirts, this is a great project for that! And, it is also a really nice differentiation project. The project below, while I started it with my daughter at home, I took it to school and had a couple of art 1 students work along a life-skills student. He threaded the strips through the hook base and the other students completed the loop. The students did a great job working together and the non-verbal life skills student was able to complete an on-level art 1 project with his regular ed peers!


Sunday, June 16, 2013

From 1/2 the face to the full face.

For my fall final exam, art 1 students completed the other half of the face drawing. For my spring final exam in art 1, students had to draw the entire face. They could reference the picture from the fall, but they had to draw from observation as well.  I love the progression!
 
Below are just a few examples, but these are not the only ones that were awesome. I was so pleased with the results of the project and love how you can see the individual students artistic development!
 
I would love to give credit to the individual studetns here, but I'm not since the faces are here. If you know these students, give them a shout in person!
 
And let me remind you again... these are ART 1 students!!


Embroidery Hoop Printmaking Tutorial

Embroidery Hoop Printmaking Tutorial
 
Are you interested in printmaking but not sure where to start? Well, embroidery hoop printmaking isn't the easiest way to start printmaking, but it is super cheap! So how do you start?
 
Well, start with a simple image. NOT LIKE MINE! Sorry, you have to make do with my image as this was an actual project.
 
1. Print your image on copy paper.
 
 
2. Get an embroidery hoop and some sheer fabric. I bought a fabric panel at the discount store. Cut your fabric a little larger than your hoop and pull it super tight.
 
3. Set your hoop with fabric down FLAT on to your design. It is important that you will see the image CORRECTLY with the hoop facing you. (see below).
 
4. Take your sharpie and draw you image onto the fabric. Yes, the sharpie will bleed, but where you actually draw will be black and the bleed will be gray.

 
5. Flip over the design and check to see how it looks.

 
 6. Flip it back over and fix/fill in any areas that were not completed drawn in.
 
 7. Get your fabric mod podge and paint all of the clear space. This is super important and will be done in two or three coats. The only area that will not be coated is the black design area.
 
 
8. For tiny areas, you toothpicks.
 
9. Periodically pick up the frame and paint the other side. This pushes the excess mod podge back through the screen and helps to keep the front of the screen flat.
10. Let the frame completely dry and then paint another coat. If you can see through the fabric, it is not sealed enough.
 
11. Try out your frame on a piece of paper or throw away piece of fabric using acrylic paint. I like to pull the image with a credit card. It is important the frame is flat on your fabric and that you pull the print at a 45 degree angle. Only pull across each part of the image ONE time and only from ONE direction!. If it's not a great print, wash your frame out, let it dry and add mod podge to the "bad" spots.
 
12. And here is what it looks like printed.
 

Words of caution...

This printmaking process is not for the faint of heart nor is it good for long runs. However, it would be ideal for a classroom project where every student was allowed to create their own prints. I would say that you could probably get about 10 good prints, maybe more, but the screen seems to break down and allow bleedouts quickly. Pulling from different angles makes bleedouts happen faster.

I would suggest that you NOT use words, or if you do, no smaller than the "spaced out" words that I have on my image.

Good luck!

Friday, June 14, 2013

A Printmaking Photo Explosion

So I am making a pinterest board and I realized that all of my student's awesome printmaking work isn't on the web. I thought it was on the school website, but I realized that we changed the way the art albums were set up, so none of the printmaking work is there.

Sorry for the photo dump, but I need to tag these on my pinterest board for my grad class!

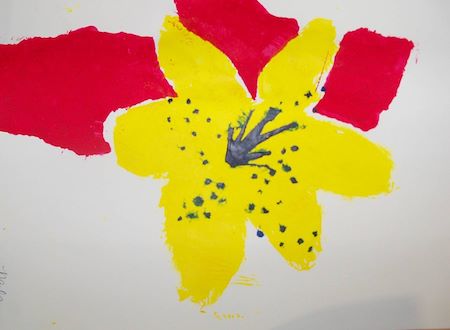
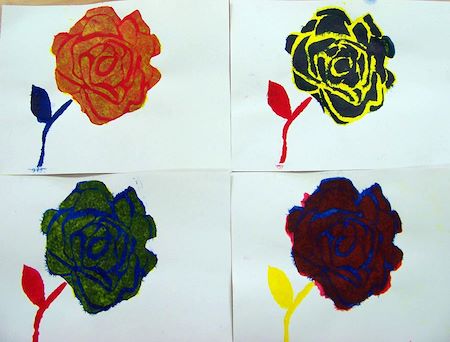
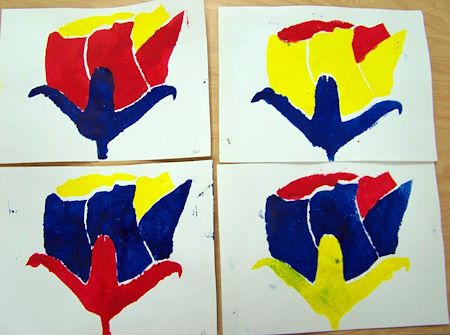
This first printmaking project is my O'Keeffe meets Warhol project. It is an awesome project and that I did in art 1. I'd give you more details, but I'm teaching a workshop on it in the fall at TAEA and it also happens to be accepted for publication in an art teacher magazine!

But here are a couple to intrigue you!


To see more, you can go to my artsonia exhibit:
http://www.artsonia.com/museum/gallery.asp?exhibit=395529

The next printmaking project is done with simple Styrofoam plates... but these are not your typical Styrofoam prints!

The photos that I have do not show the intricate detail work. bummer.


And the third project is a collagraph. It is a cardboard base with a cardboard "stamp" glued to the base. It worked great with tempera paints. I wouldn't use block ink as it is too tacky, but the washable poster paints worked beautifully on this project. Of course, there are not finished product pictures, but you can at least see the plate!


The next project in this post are linoleum cut projects. This is just the traditional printmaking project. I have a number of pictures to show you here. You can also see that I use ink pads in my classroom for prints as well as block ink. I really like the ink pads for practice work and sometimes they are better for the finished product too!


The final project in this printmaking explosion is screen printing. I think I have blogged a lot of these pictures, but just in case, I'm adding them to this post! These pictures are of my students screen printing different community based signage projects. I love having students do "real" screen printing in my classroom as they learn another art form, but they also learn a trade!


And one final thought, these pictures are taken at different points over the years, but all of these are projects that students particiapte in in Art 1 and beyond.